RetroPie is a modern marvel of computing. It’s a collection of easy to use emulators that run just about every vintage video game console, and it runs on the Raspberry Pi line of single board computers. It’s awesome, and I love my setup. However, the first setup can be confusing if you’re new to the Raspberry Pi or flashing images to micro SD cards. I’m here to walk you through the whole process so you can put RetroPie on an SD card with ease.
You can flash RetroPie to a micro SD card using either balenaEtcher or Raspberry Pi Imager. Both options work well, and I’ll teach you how to do it both ways.
I want you to have a good experience setting up your new RetroPie console, and this guide will walk you through the entire process step-by-step.

Getting ready to flash RetroPie to a micro SD card
There’s a couple pieces of background information you’ll need before you can install RetroPie to a micro SD card. First, the term flashing an image basically means installing an operating system to a microSD card. This is what we’re doing today.
Second, all Raspberry Pi single board computers run on micro SD cards, and you’ll need one to complete this process. I recommend at least a 32GB model, and just about any brand will work. While most game files for older cartridge-based consoles are exceptionally small, the game files for CD based games can be quite large. 32GB micro SD cards give you ability to run a large number of games originally released on cartridges and the ability to start playing a few games previously released on CD.
Also, keep in mind that flashing RetroPie to a micro SD card is only one part of the RetroPie setup process. If you’re interested, I have a complete guide to setting up RetroPie available here.
What are the methods you can use to install RetroPie on a micro SD card?
There are two ways to accomplish the task of flashing RetroPie to a micro SD card, and both of them produce the exact same end result.
The first approach utilizes the super-easy and free Raspberry Pi Imager. This is the official way of flashing Operating Systems using Raspberry Pi Foundation software. This method is as simple as it gets, and it does the job quickly.
The second method for installing RetroPie on a micro SD card is using a program called balenaEtcher. balenaEtcher is a free program used for flashing (installing) OS images to micro SD cards, and this method is also super simple. The real advantage to using this method is that it gives you the experience of flashing an image in such a way that opens more gaming possibilities in the future. If you ever want to build something like a MiSTer FPGA system, you’ll already be a step ahead of everyone else as balenaEtcher is used to accomplish this task.
Keep in mind, if you use belenaEtcher, you’ll need to download the free image file of RetroPie Operating System. The RetroPie image comes as a zipped file, and you’ll need something like 7-Zip to unzip it.
Method 1: How to install RetroPie using Raspberry Pi Imager
Getting Ready to install RetroPie using Raspberry Pi Imager
You’ll need some basic hardware to complete this process, and here’s a quick list of what’s required:
- A functional computer with an internet connection.
- A micro SD card. I recommend this one for beginners.
- Not all computers can accept a micro SD card, and you’ll need a means to connect the two. You can either use the adapter that comes with the micro SD card, or you can use a USB adapter like this one.
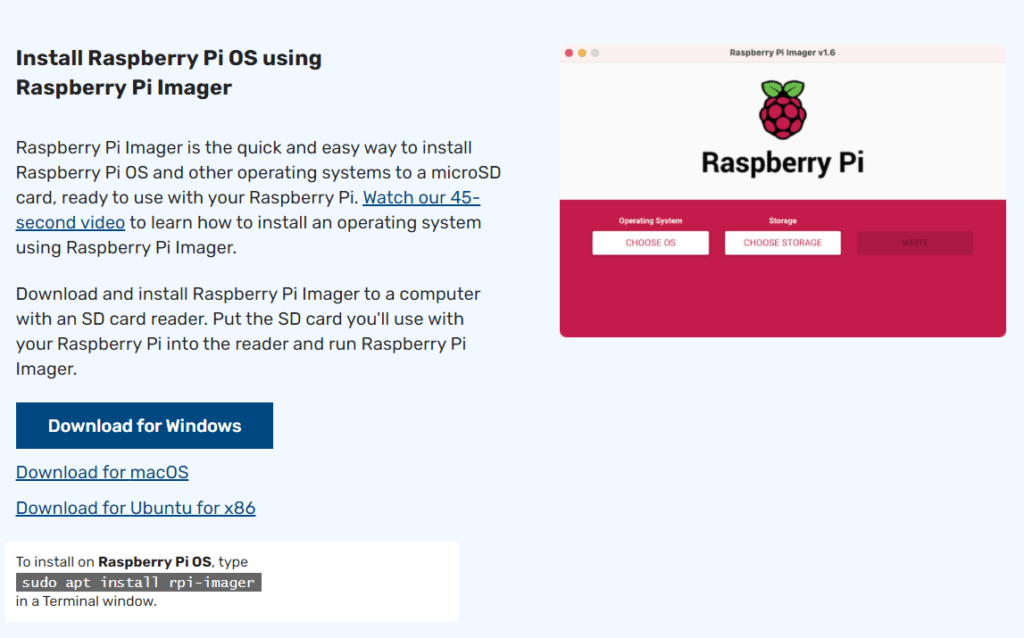
Here are the necessary downloads if you’re planning on using the Raspberry Pi Imager:
- You can download Raspberry Pi Imager here.
Flashing RetroPie using Raspberry Pi Imager
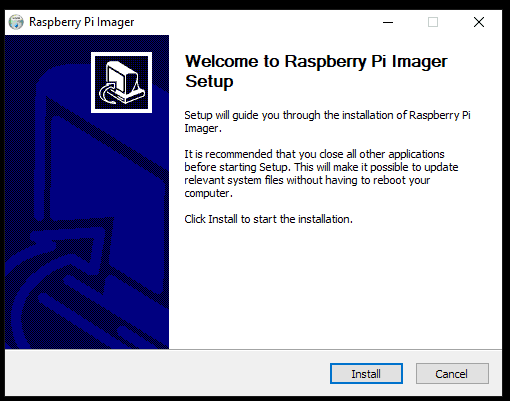
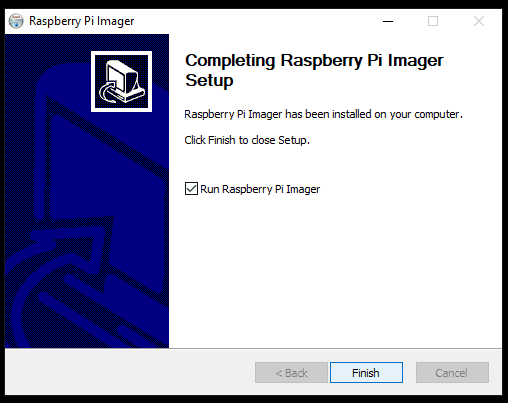
- Download and install Raspberry Pi Imager.
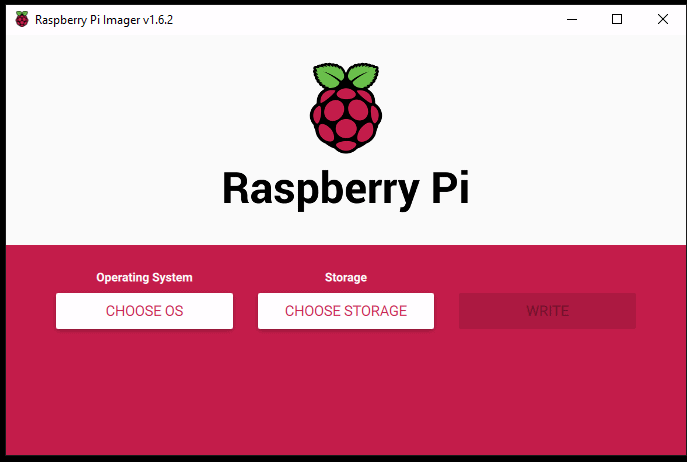
2. Open Raspberry Pi Imager.
While this screen may look a little different on a Mac or Linux system, the process it pretty much the same. Open Raspberry Pi Imager after you’re done installing it and let it run.
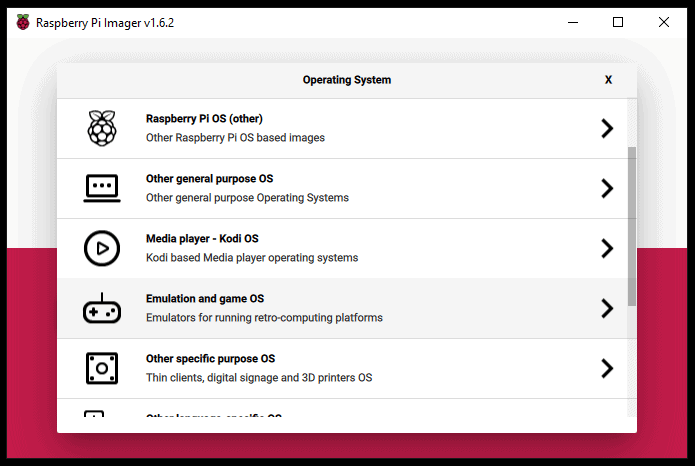
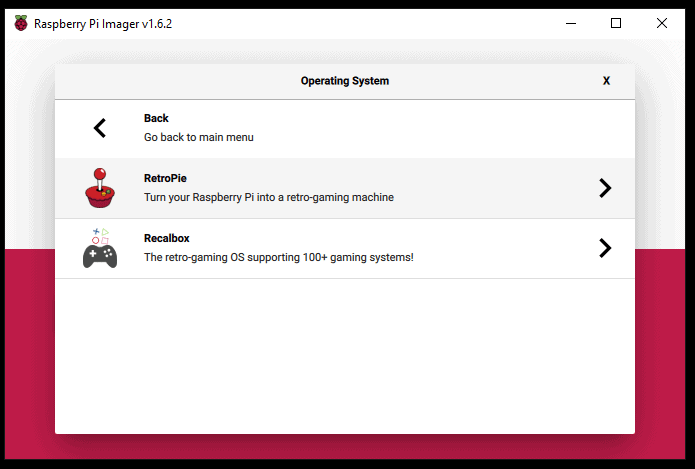
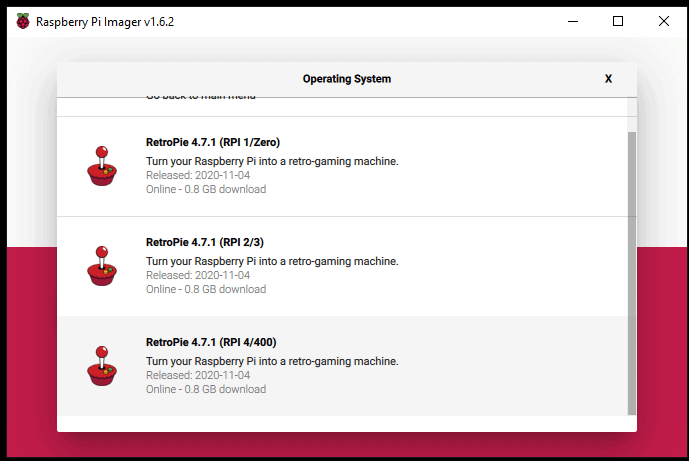
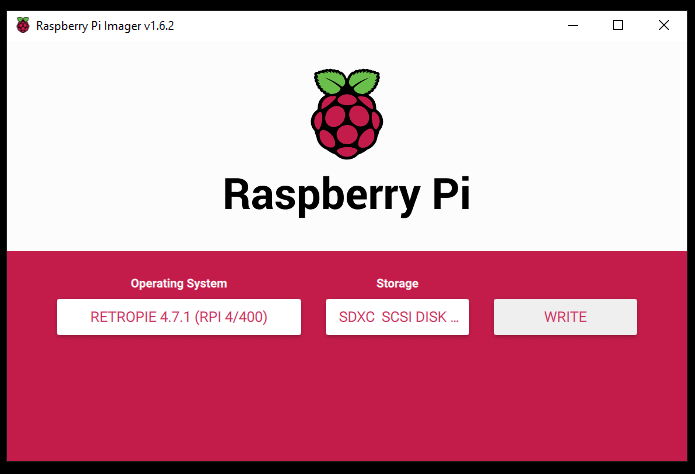
3. Select RetroPie from the list of Operating Systems.
4. Physically Insert your micro SD card in to your computer.

Again, everyone’s computer will be slightly different, and you may need an adapter to get your micro SD card into your computer.
5. Select the micro SD card on which you want Raspberry Pi Imager to flash RetroPie.
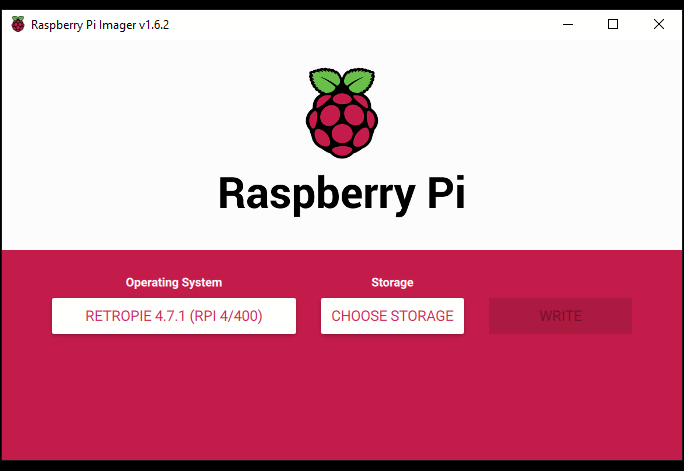
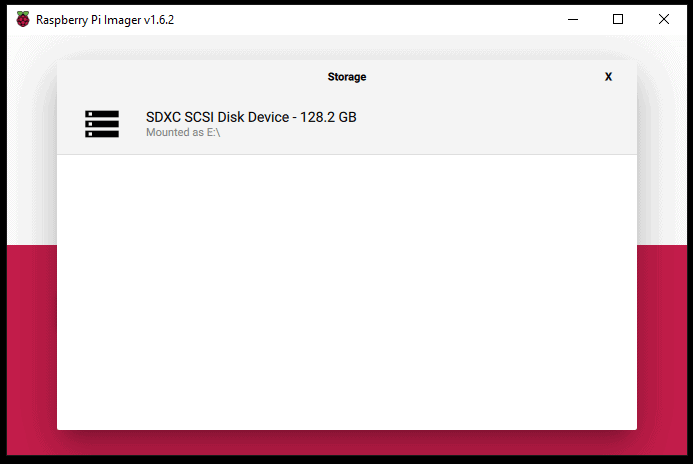
6. Click WRITE.
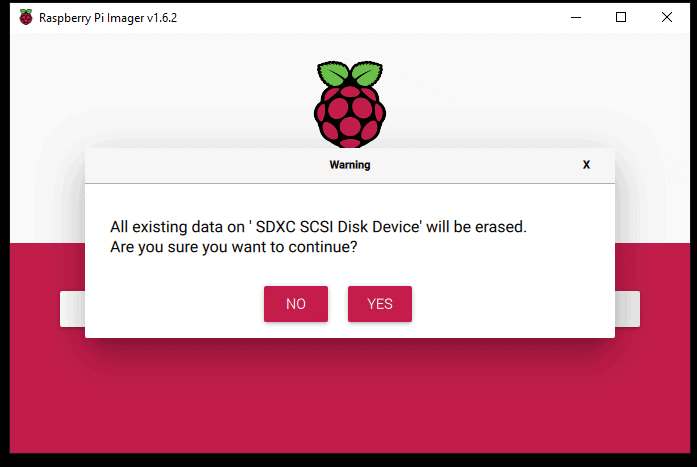
7. You’re all finished!

That’s it! You’re all ready to put your micro SD card in your Raspberry Pi and start gaming. Keep in mind, flashing RetroPie to a micro SD card is only the beginning. If you want to read my full tutorial for setting up RetroPie, you can go to that blog post here.
Method 2: How to install RetroPie using balenaEtcher
Getting ready to install RetroPie using balenaEtcher
As with any new computing endeavor, there are some things you’ll need to do before we get started.
- You’ll need an unzipping utility, and I recommend downloading 7-Zip if you don’t have one.
- Download, unzip, and install balenaEtcher. balenaEtcher is a program that can flash (install) Operating Systems to micro SD cards. This will be helpful today, and you can use it in the future if you want to expand the usefulness of your Raspberry Pi or create a MiSTer FPGA gaming system.
- Download and unzip the version of RetroPie that suits your Raspberry Pi.
Flashing RetroPie Using balenaEtcher
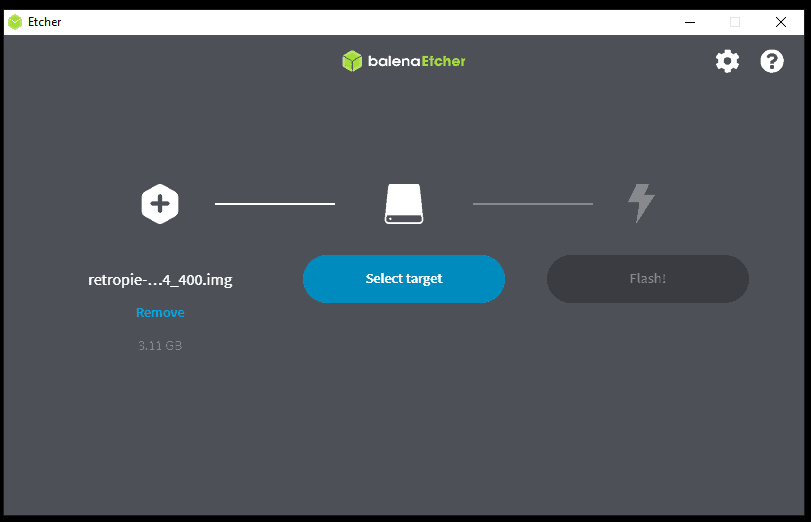
- Open balenaEtcher.
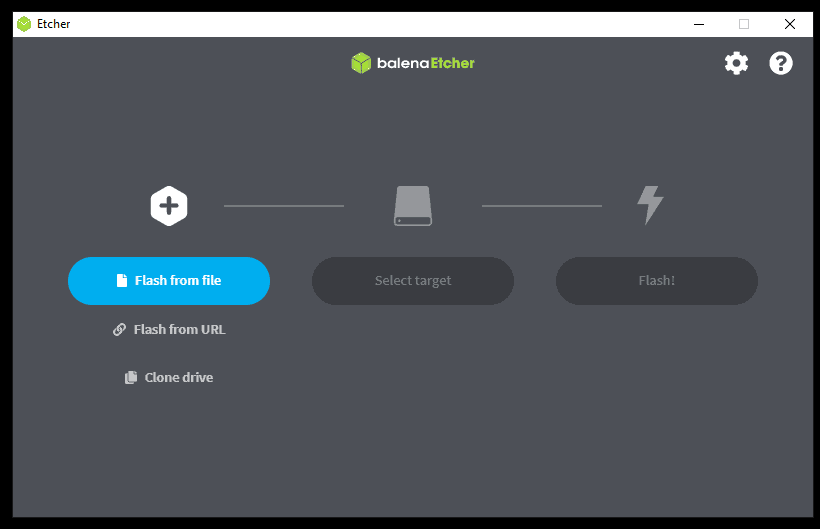
2. Click on Flash from file.

Flash from file is the main option to select, and it’s highlighted as a blue button.
3. Select the RetroPie .img file.
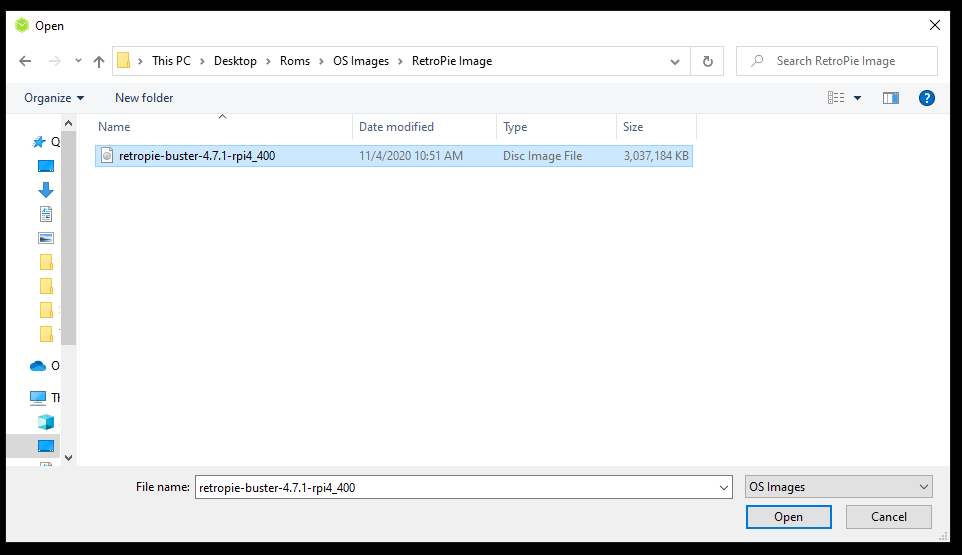
Downloading and unzipping the RetroPie image file was part of the Getting ready section of this blog post. Select the file from wherever you put it on your computer and then click Open.
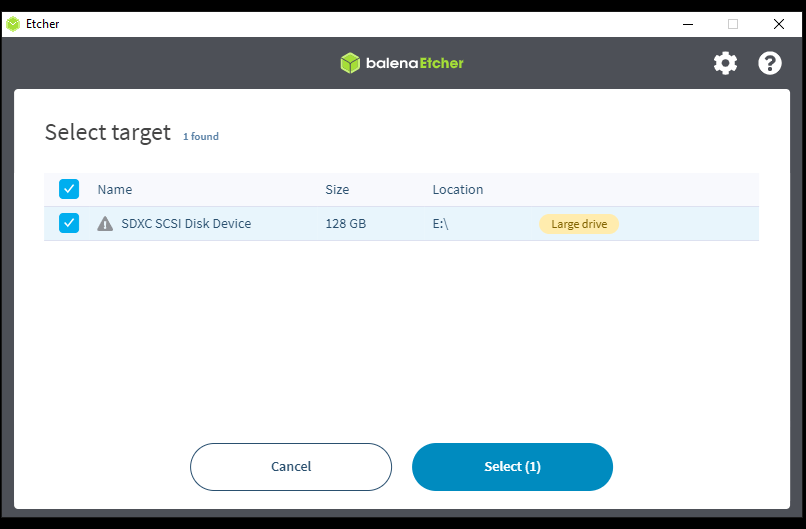
4. Insert your micro SD card into your computer.
Not all computers can accept micro SD cards without an adapter. If you need one, I recommend this one.
5. Select the proper micro SD card and tell balenaEtcher to flash the image.
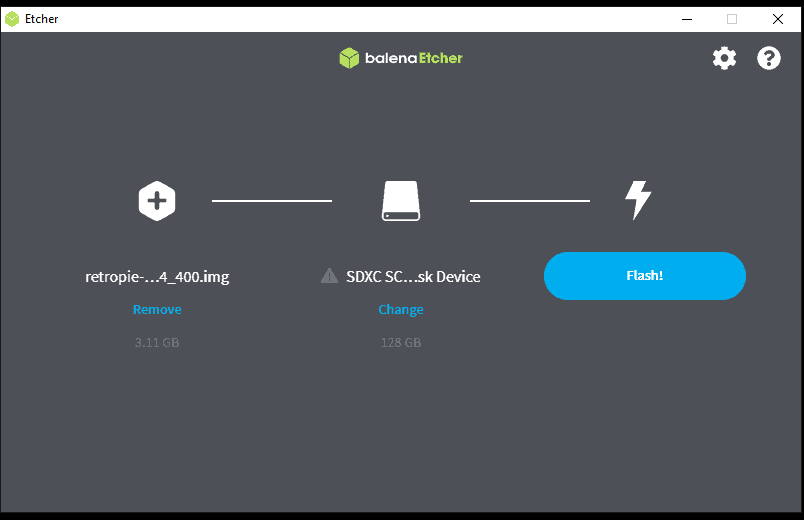
6. Wait for balenaEtcher to work its magic.
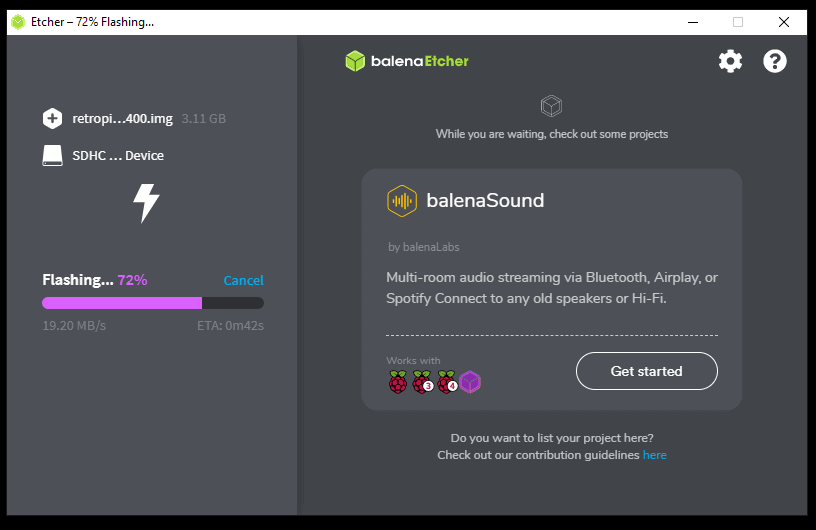


That’s pretty much it. If your computer gives you any error messages about the format of the micro SD card, just close out of them.
Final thoughts
That’s it! You’re all done flashing RetroPie to a micro SD card. It’s not a terribly difficult process, but it can be intimidating if you’ve never done it before. Of course, flashing the RetroPie image is just part of the setup process. If you’re interested in a complete RetroPie setup guide, check out my detailed tutorial here.
-
How do I put RetroPie on my SD card? The ultimate guide
-
No Audio on Raspberry Pi: A helpful, illustrated guide
-
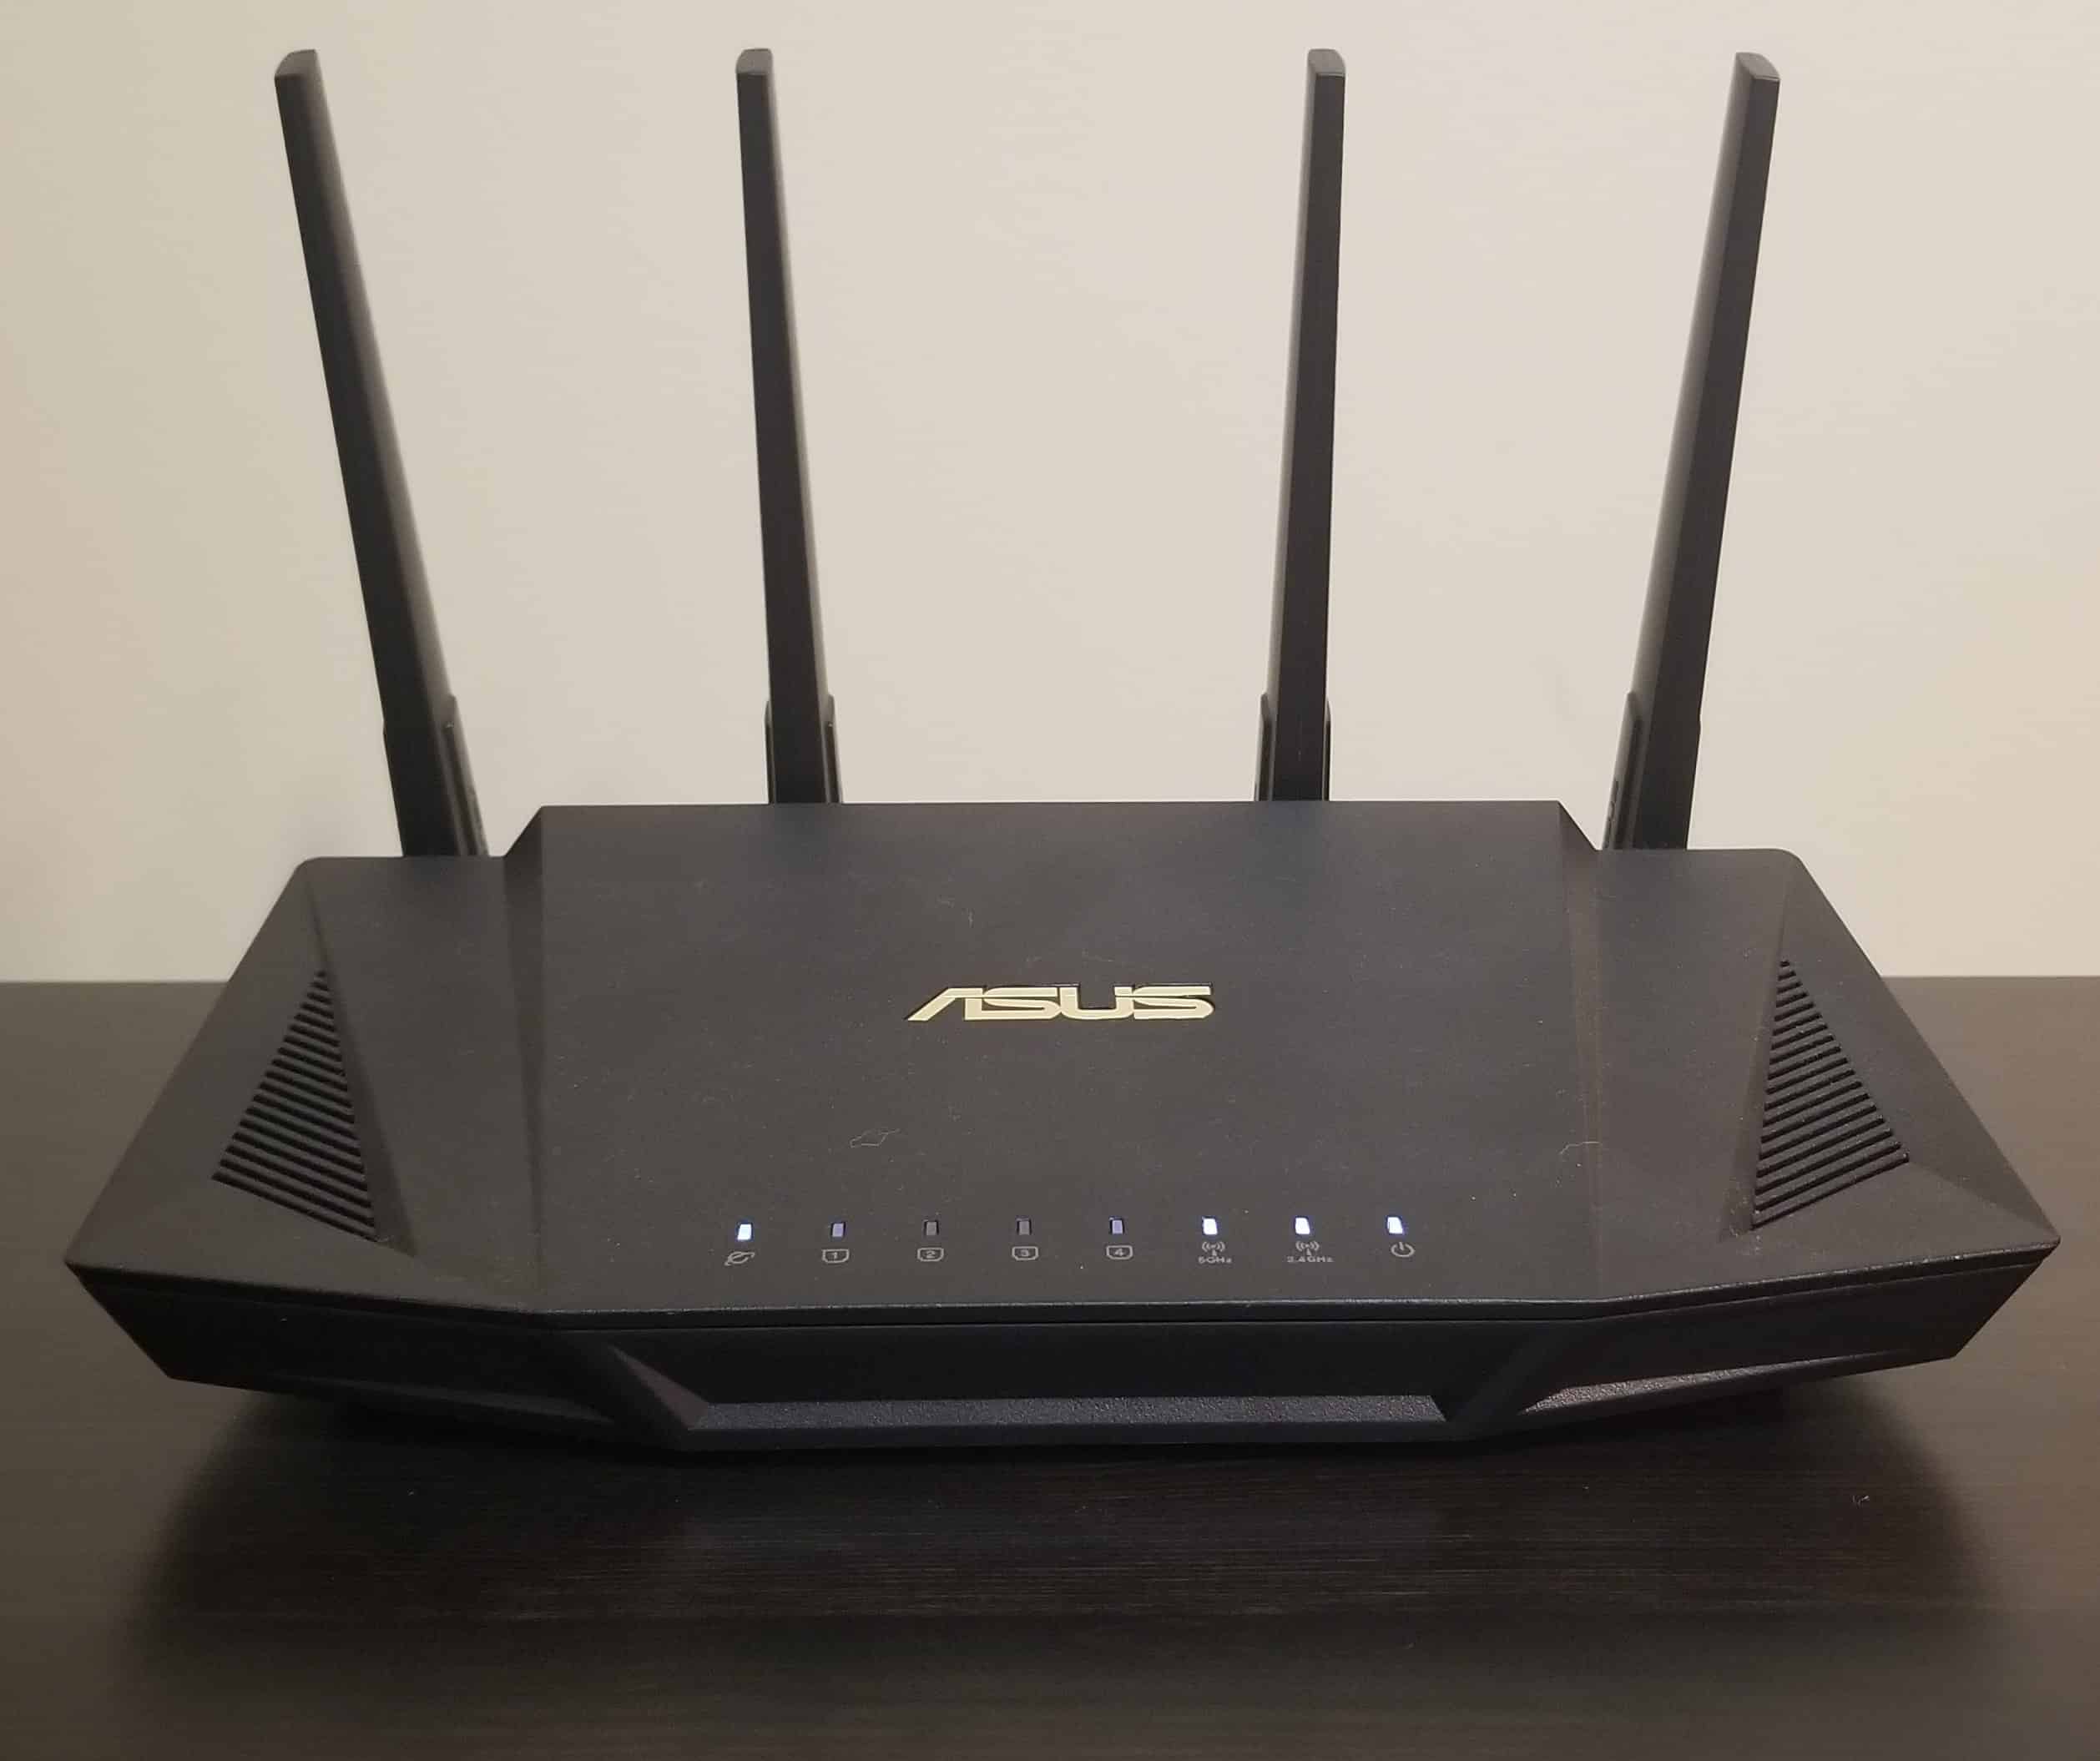
Do Routers Make A Difference? Here’s the truth!
-
Do Modems Have WiFi? A helpful, illustrated guide.