RetroPie is a fantastic, free program that allows gamers to play classic video games from dozens of vintage gaming consoles. However, RetroPie doesn’t come with any of the games preinstalled. You’ll have to add them yourself.
RetroPie allows you to add games by USB stick and Wi-Fi. I’ll show you how using plain English and plenty of pictures.
My first setup with RetroPie was a serious struggle. I’m here to make this a simple and enjoyable experience so you can jump in and play lots of great retro games.
Preparation
Before we get started, you’ll need some roms. Roms are the individual game files for each classic game. They are widely available through via Google search. Please ensure you obtain your roms legally.
You’ll also need to setup RetroPie. If you need help with setting up RetroPie, check out our guide here.
- Pro Tip 1: Keep a separate folder of roms for each classic console, arcade, and computer. RetroPie organizes roms by system, and you’ll need to place game files into RetroPie in specific folders for each type of console. Stay organized!
- Pro Tip 2: Unzip all of your roms, and only transfer the rom files. A great, free, open-source unzipping tool is 7 Zip.
Method 1: Add Roms to RetroPie via USB Stick
1. Obtain a USB stick. Ensure it’s formatted in EXFAT or FAT32. This shouldn’t be much of an issue, because most USB sticks come this way. Just about any old USB stick will do assuming it has enough storage capacity for your roms.
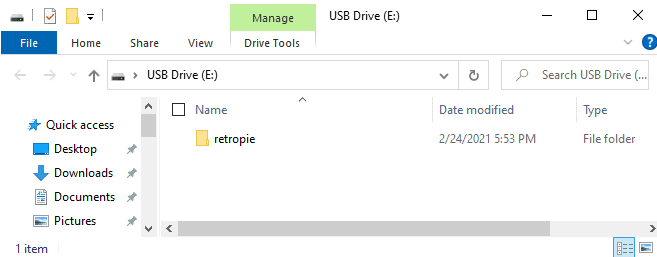
2. Plug the USB stick into your computer and create a new folder called retropie on the USB stick when you are able to do so. Do not use any other punctuation, capitalization, or characters.
3. Power on the Raspberry Pi with RetroPie installed and let it boot up.
4. Remove the USB stick from your computer and plug it into your Raspberry Pi. At this point, all you have to do is wait a few minutes. The Raspberry Pi will create all the needed files and folders on the USB stick inside of the folder you just created. If your USB stick has an activity light, wait for it to shut off. Otherwise, just wait a few minutes.
5. Remove the USB stick from the Raspberry Pi and put it back into your computer. Open the USB stick. Navigate to retropie > roms.
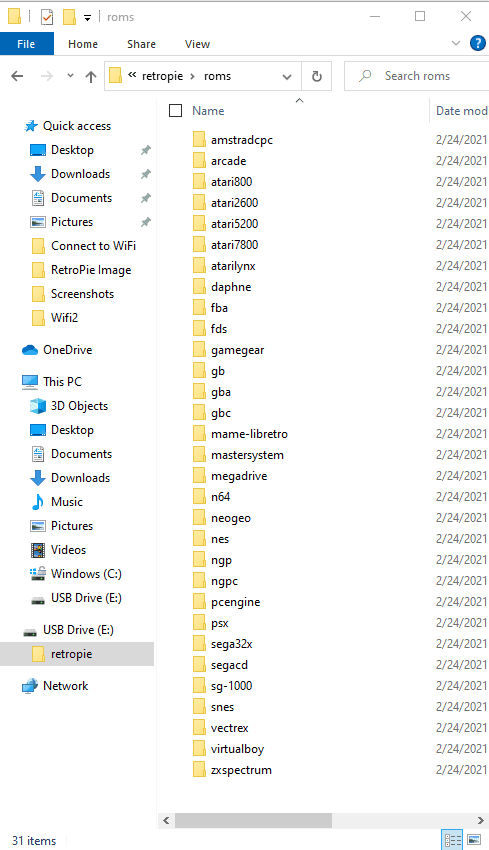
6. You can now see various folders for each console, arcade, and computer. Drag and drop your roms from your computer into the appropriate folder on the USB stick.
7. After you’ve dropped all the roms from your computer into the appropriate folders on the USB stick, remove the USB stick from your computer and plug it back into your Pi. The Pi will automatically transfer the roms to its own microSD card.
This process may take several minutes. Again, watch the activity light on the USB stick if it has one. If not, just wait a few minutes.
8. When the transfer is complete, restart EmulationStation. You can do this by pressing Start on your controller. Next go to Quit > Restart EmulationStation > Yes.
Method 2 – Add Roms to RetroPie via SSH
This method works really well for just about all applications, but it does require a little bit of work to setup. It is, by far, the best method for large file transfers as the only restriction is the size of your micro SD card or SSD. It also works well for gamers who frequently update their roms as it eliminates a lot of the monkeying around with an external storage device.
1. Connect to a Wi-Fi network. I wrote an excellent guide on connecting RetroPie to Wi-Fi with tons of pictures here.
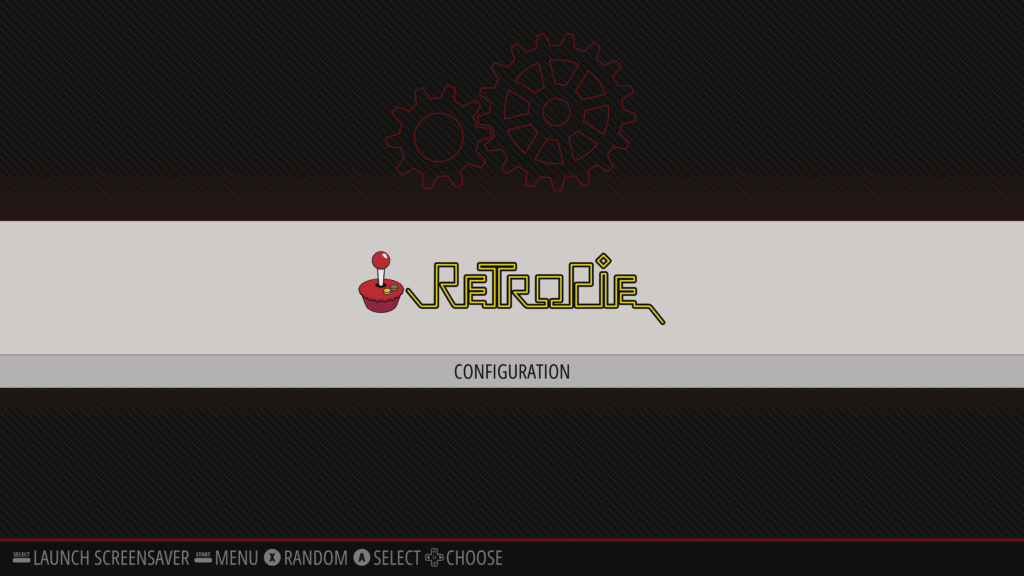
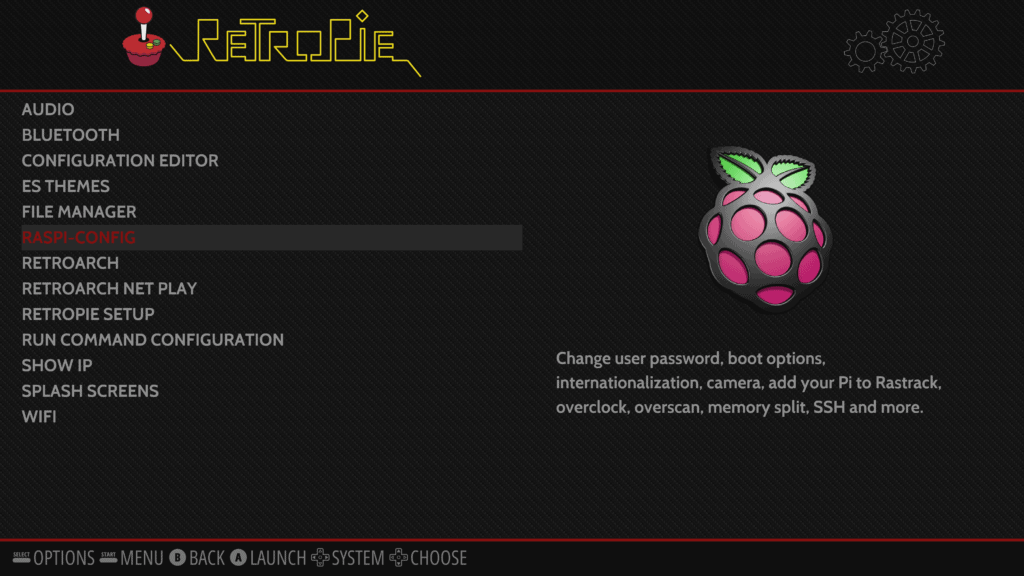
2. Start at the RetroPie Configuration menu. This time, select RASPI-CONFIG.
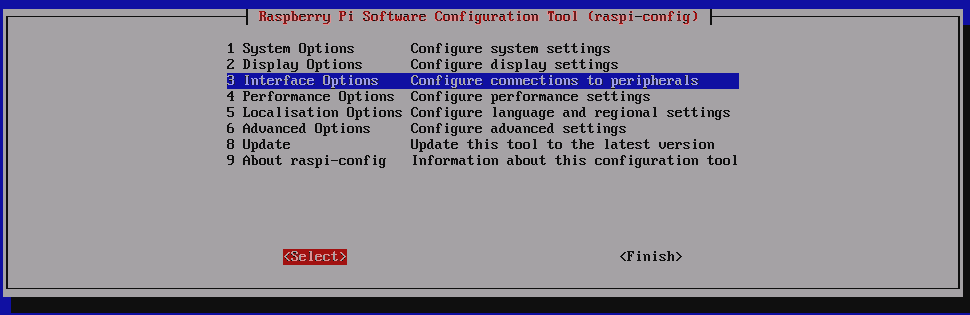
3. Select Interface Options. After you scroll down to the Interface Options, you’ll need to press Right to highlight the Select option. Choose this option.
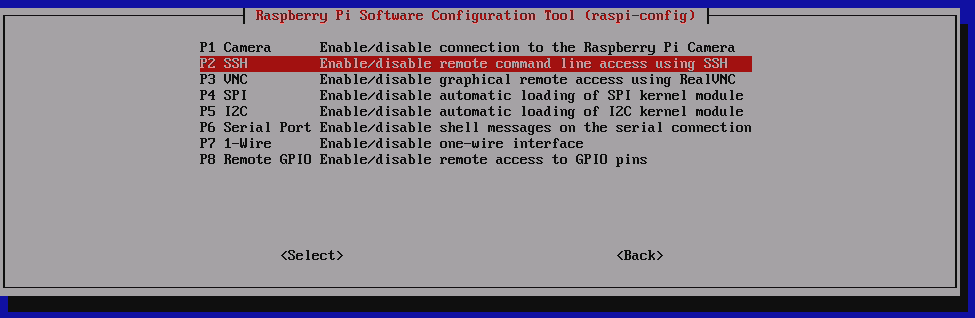
4. Select SSH. Again, after you scroll down to SSH, you’ll need to press Right to enable the Select option.
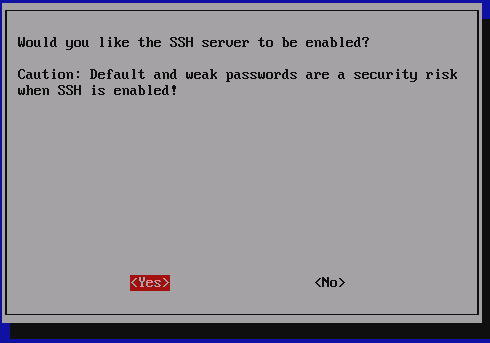
5. When asked if you want to enable the SSH server, select Yes. You’ll need to press Left to move over to the Yes option.
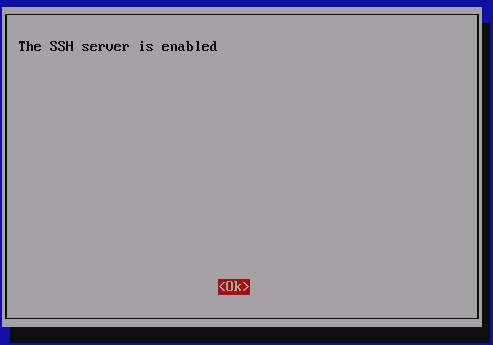
6. Select Ok.
7. At this point, you can now connect your computer to your Raspberry Pi. You can do this only if both devices are on the same Wi-Fi network. If you need help connecting RetroPie to Wi-Fi, check out my guide here.
On a Windows machine, open a file explorer. In the address box, type in \\retropie and press Enter. Alternatively, you can enter the Raspberry Pi’s IP address and press Enter.
Pro Tip: Ensure your slashes are going the right way if you’re going to \\retropie route. The slash you need for that command is the one above the Enter key.
The computer will prompt you to login. The defaults credentials are:
| Username: | pi |
| Password: | raspberry |
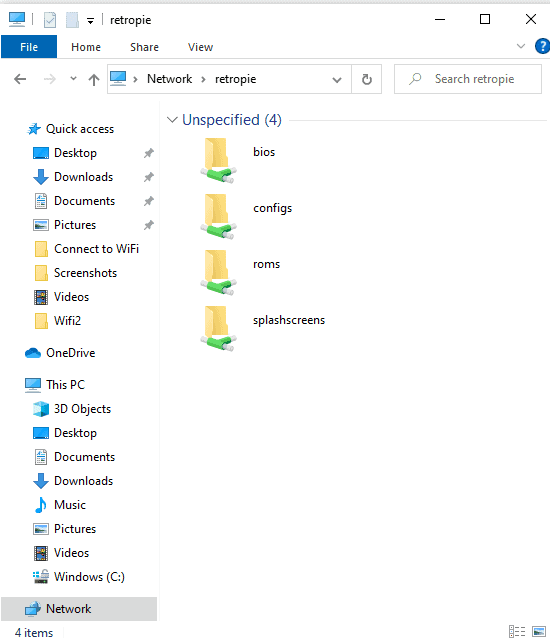
8. From here, open the roms folder.
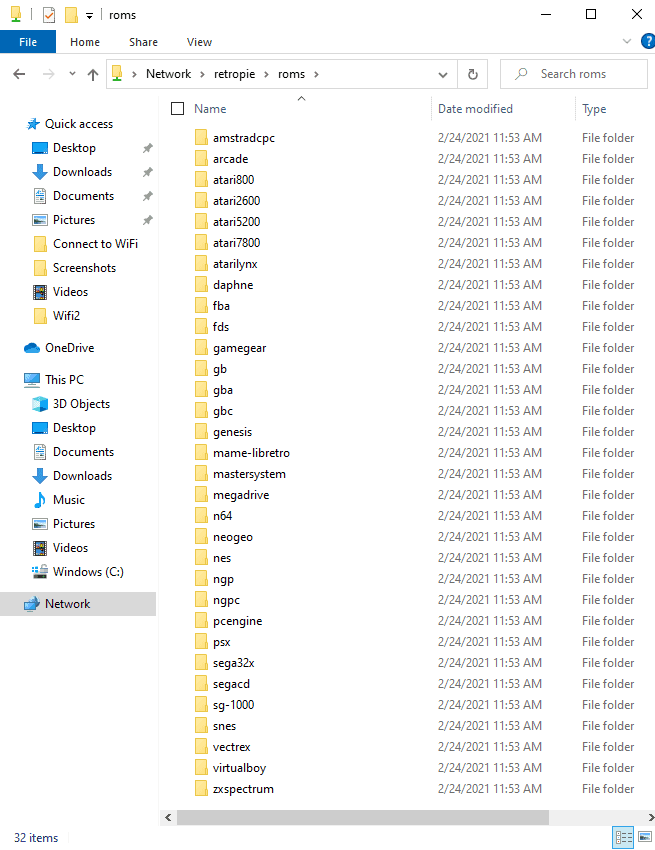
Drag and drop your roms into the appropriate folder on you Raspberry Pi. The folders are organized by system. The file transfer happens via Wi-Fi.
- Pro Tip. The default username and password are incredibly weak. It’s in your best interest to at least strengthen the password.
9. It’s a good idea to update the password on your Raspberry Pi. You can do that with the Raspi-Config software. Simply go to System Options > Password.
- Pro Tip: As you type in your new password, you will not see any asterisks. However, your Raspberry Pi will keep track of what you are typing both times you enter your new, stronger password.
What else can you transfer via SSH?
BIOS files. Take a closer look at the top image from Step 8. You’ll notice a folder named BIOS. BIOS stands for Basic Input Output System. Essentially, these files are the original operating system for classic consoles.
Some emulators require these BIOS files to operate properly, but the BIOS files are not included in the initial download. The reason for this is that BIOS files are subject to intellectual property law.
Please ensure you obtain your BIOS files legally.
Once legally obtained, you can simply drag and drop BIOS files into the BIOS folder and the emulators will recognize them.
The easiest way to tell that you need a BIOS file is when you select a rom to play. The screen will turn black, the loading screen will display, and then you’ll return to the game select screen. This can be a frustrating experience. However, you can solve the problem by adding the correct BIOS file.
RetroPie’s website lists the file name of the BIOS file needed for the emulators used in their program.
Splash screens. When RetroPie boots up, the default is to display the boot text followed by the splash screen. Users can change the default splash screen to just about anything they want.
There are many splash screens available for download with a quick Google search.
Final Thoughts
RetroPie doesn’t come with any games; users need to supply their own. There are a few ways to accomplish this. After gamers supply their roms, they have countless hours of retro gaming in front of them.
I hope you found this post helpful. Happy gaming!