
RetroPie is a collection of emulators that enables gamers to play thousands of vintage video games on modern displays using a Raspberry Pi single board computer. However, setting up RetroPie can be a frustrating endeavor for the uninitiated.
Setting up RetroPie is made easier by gathering everything you need ahead of time, following this helpful guide, and enjoying the process of learning how the whole thing works.
You’re about to enter an exciting new world of classic gaming using modern technology and displays. Read on to get started!
What do I need to set up RetroPie?
Before we get started, you’ll need some basic hardware. Here’s what I recommend:
| Hardware/software needed for RetroPie | What it’s used for |
| Raspberry Pi 4 Model B in either 4GB or 8GB | This is the computer that will run RetroPie. |
| A Raspberry Pi 4 power cable | Raspberry Pi computers don’t come with power cables. You’ll need one. |
| Argon One V2 case | This case for the Pi 4 boasts active cooling, passive cooling, and it converts the Pi 4’s micro HDMI to full size HDMI. |
| A microSD card – at least 32GB | This is where RetroPie and all of your games are stored. I recommend at least 32GB |
| Any old USB keyboard | The old keyboard you have at home will be fine. If you don’t have one, you’ll need one. |
| A Bluetooth or USB controller | Just about any modern Bluetooth or USB controller will work. If you don’t have one, I recommend the 8BitDo Pro 2. Seriously; it’s awesome. |
| A functional computer. | You’ll need this to prep your microSD card. Just about anything will work. |
| balenaEtcher | balenaEtcher is a free, open-source program we’ll use to flash (install) the RetroPie image onto the microSD card. |
| 7-Zip | You’ll need a program to unzip zipped files. If you don’t already have one, I recommend 7-Zip |
| RetroPie | Duh. RetroPie is the program we’ll use to run the games. It’s free on RetroPie’s website. Ensure you download the version for you’re specific Raspberry Pi model. If you followed my recommendation and picked up a Pi 4, you’ll need the 4/400 version. |
How do I install RetroPie?
There are two main methods of flashing RetroPie to a micro SD card. The first method uses Raspberry Pi Imager, the official program from the Raspberry Pi Foundation. You can also use a program called balenaEtcher. If you want to see detailed explanations of both methods, check out my full tutorial here.
For this guide we’ll use the balenaEtcher method.
RetroPie is an operating system for your Raspberry Pi that comes as a zipped .img file, commonly pronounced as an “image file.” After downloading RetroPie for free and unzipping the file using 7-Zip, you’ll need to flash the image to the microSD card using a program called balenaEtcher. Flashing an image is essentially the same thing as installing an operating system. Let’s look at how to do this.
1. Download and install 7-Zip if you don’t have a unzipping program
You’ll need to know is you have a 32 or 64 bit version of Windows. To find out click the Windows button > Settings > About. The answer you’re looking for is listed under System Type.
2. Download and install balenaEtcher
balenaEtcher is the program that will flash the RetroPie image to the microSD card. Flashing an image is the same thing as installing an operating system.
3. Create a folder for RetroPie on your computer.
You will likely download many files onto your computer for your RetroPie system, and it’s important that you keep them all organized. Create a folder just for RetroPie. Inside that folder, create folders for ROMs for each system and keep your ROMs organized.
Pro Tip: I can’t stress this enough. Organize your ROMs by system. RetroPie requires that you put ROMs in specific folders for specific systems. Do yourself a favor and organize your ROMs by system. That way, adding ROMs to RetroPie is a simple drag-and-drop operation.
4. Download and unzip the RetroPie image.
You’ll need to download the RetroPie image directly from RetroPie’s website. Ensure you download the version for your specific Raspberry Pi. Unzip the file using 7-Zip or whatever unzipping program you use.
5. Flash the RetroPie image to your microSD card using balenaEtcher.
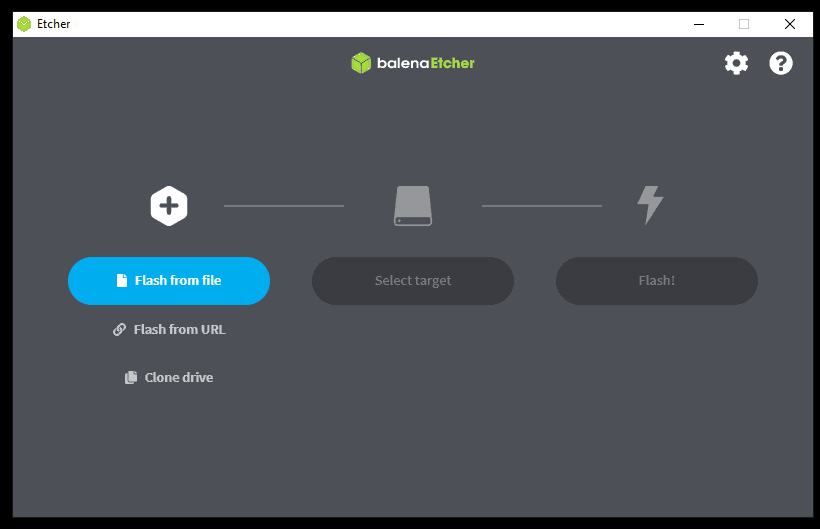
5a. Here’s where things start to come together. Open balenaEtcher you should see something that looks like this:
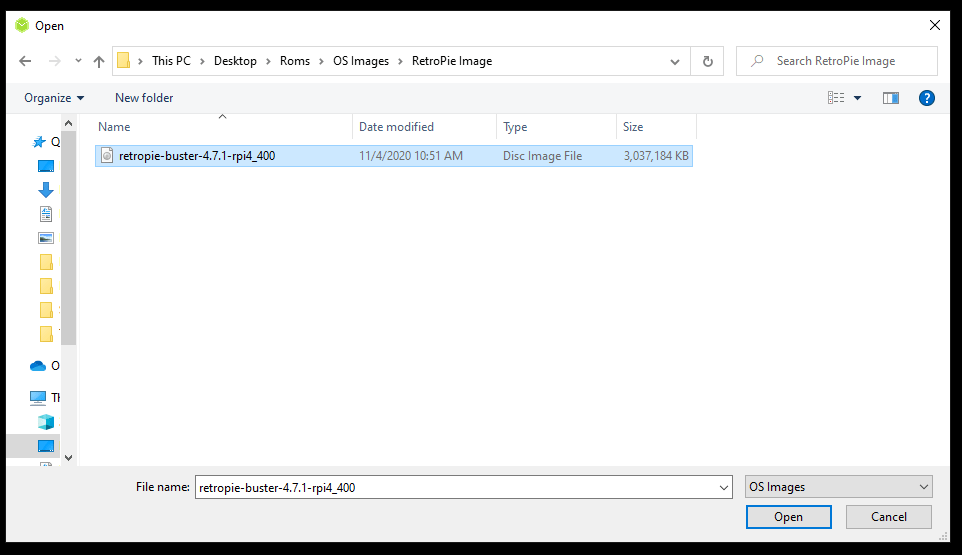
5b. Next, click on the blue Flash from file and navigate to the RetroPie .img file in the folder you just created. Then click on Open.
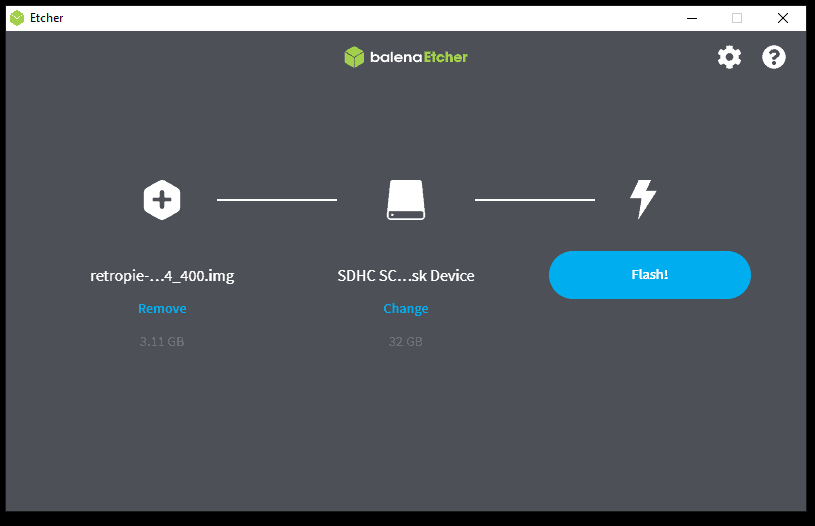
5c. Your next job is to select where you want the image file to go. Insert your microSD card and select it. Make sure you select the right drive. balenaEtcher will format the drive (delete everything) you select and install RetroPie.
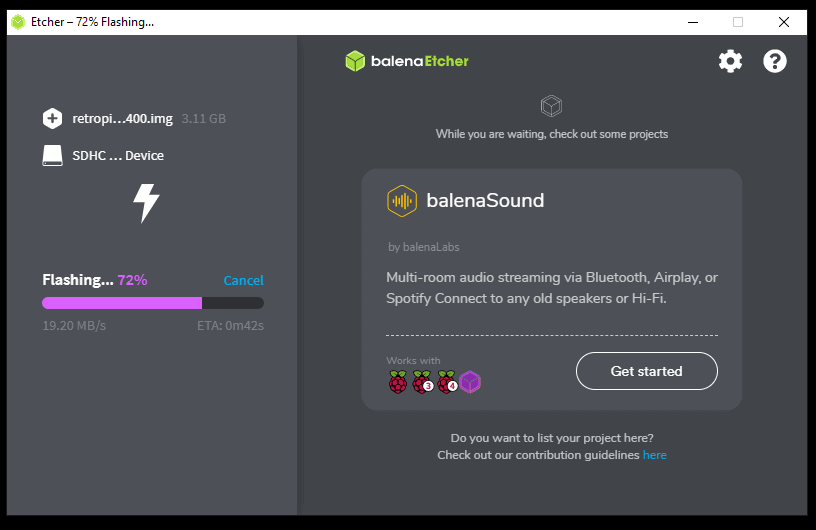
5d. Click Flash! balenaEtcher will do the rest. Just let the program flash the image file.


How do I first setup RetroPie?
Here’s where things start to come together.
1. Set up the Argon One V2 case and insert the microSD card. There’s a fantastic Youtube video tutorial here:
The Argone One case comes with illustrated instructions. If you’re a video fan, here’s a quick Youtube tutorial from Yahboom Technology.
2. Attach the HDMI cables from the Pi to your display. Then, attach the USB-C power cable and press the power button on the back of the case.
The Raspberry Pi will then boot up for the first time. You’ll see the Pi’s boot text followed by a prompt to set up a controller. We’re so close! Read on to configure your keyboard and controller!
How do I configure a keyboard and controller in RetroPie for the first time?
Side note: In this tutorial, we’ll setup a USB keyboard first. The idea is that after you setup the keyboard, you can use it to navigate the menu so you can setup a Bluetooth controller. If your plan is to use a USB controller, just plug it in and set it up instead of the keyboard. You’ll be pretty much set up at that point. All you’ll need to do after that is add some roms.
1. Plug in the USB keyboard to the back of the Raspberry Pi. You may use any available USB port.
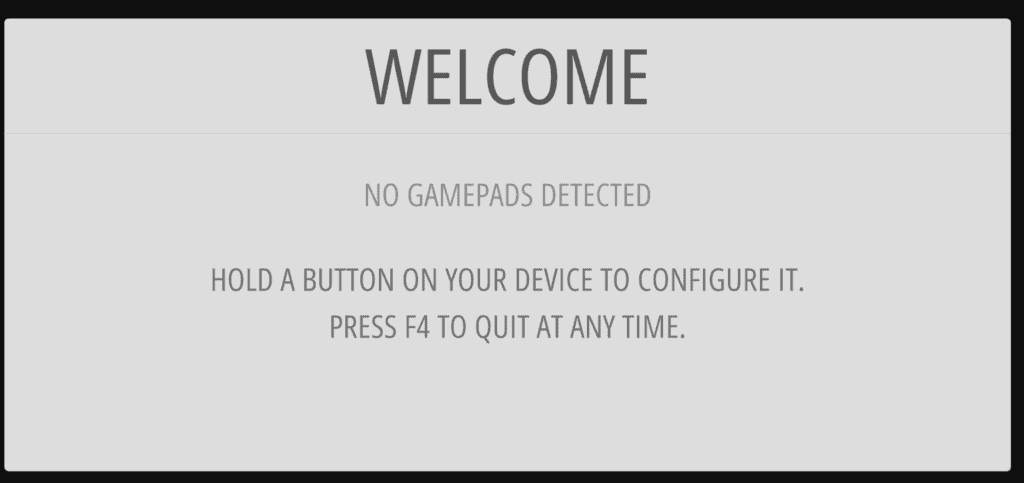
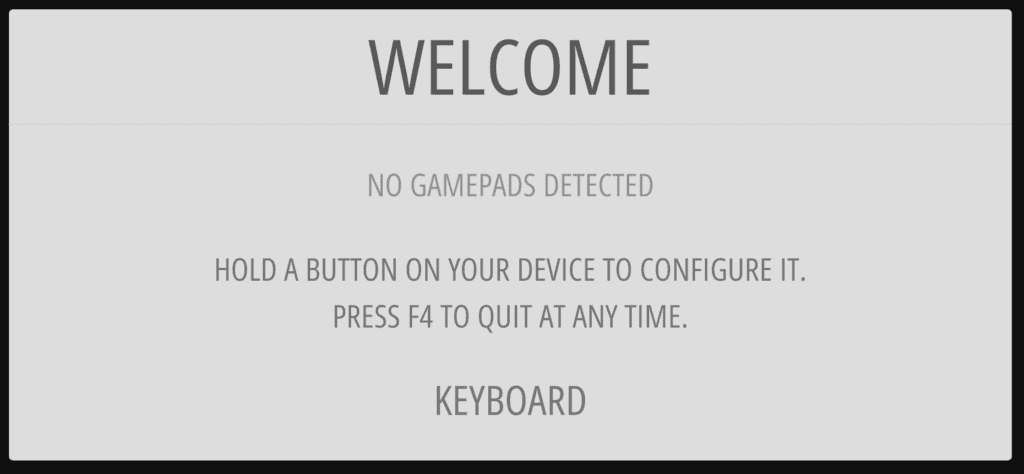
2. Hold down and press the Enter key. You’ll notice the word “keyboard” will appear on the bottom of the screen. Keep holding until you see the next screen.
3. Configure the keyboard.
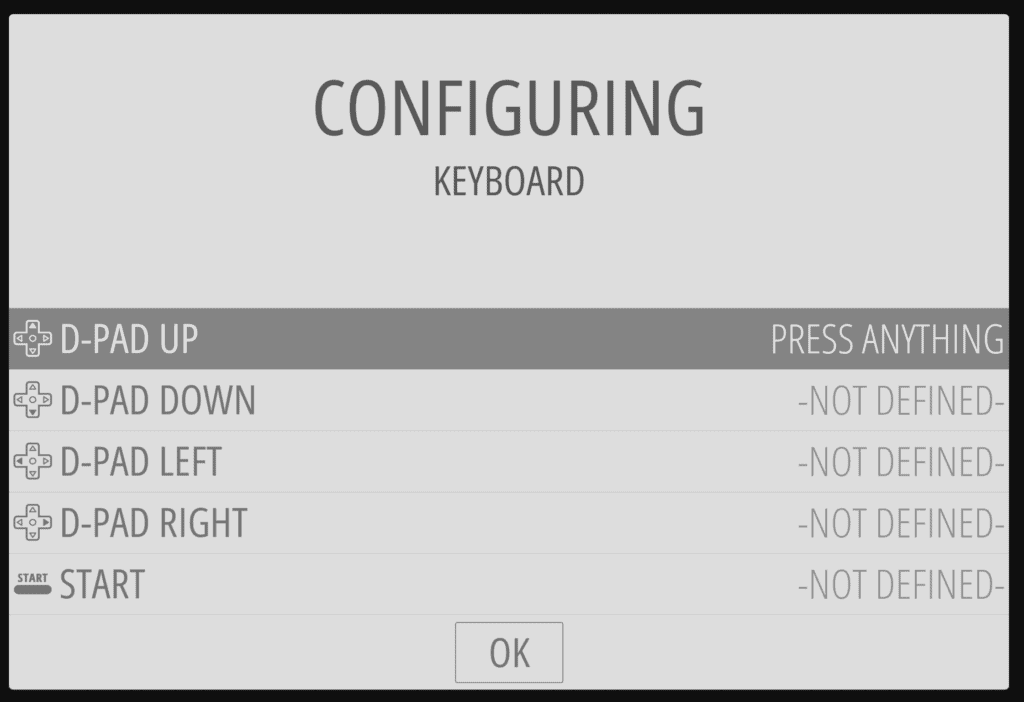
Now it’s time to configure a few buttons on the keyboard. Follow the chart below exactly.
| RetroPie Prompt | Keyboard button to press |
| D-Pad up | Up arrow |
| D-Pad down | Down arrow |
| D-Pad left | Left arrow |
| D-Pad right | Right arrow |
| Start | Enter |
| Select | Tab |
| Button A / East | a |
| Button B / South | b |
| Button X / North | x |
| Button Y / East | y |
| Hotkey | h |
For all other buttons and analog stick prompts, just hold the spacebar to skip. You won’t need them here. We’ll deal with them later. We’re just setting up to move around the RetroPie menus.
Press the ‘a‘ button on the keyboard when the OK button is highlighted on the screen to accept all your inputs.
4. Connect a Bluetooth controller.
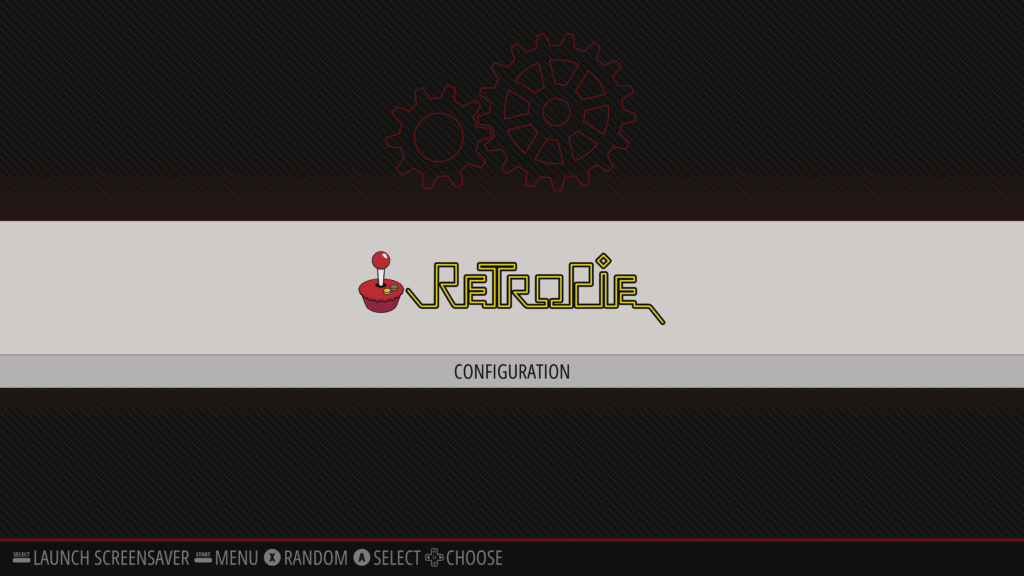
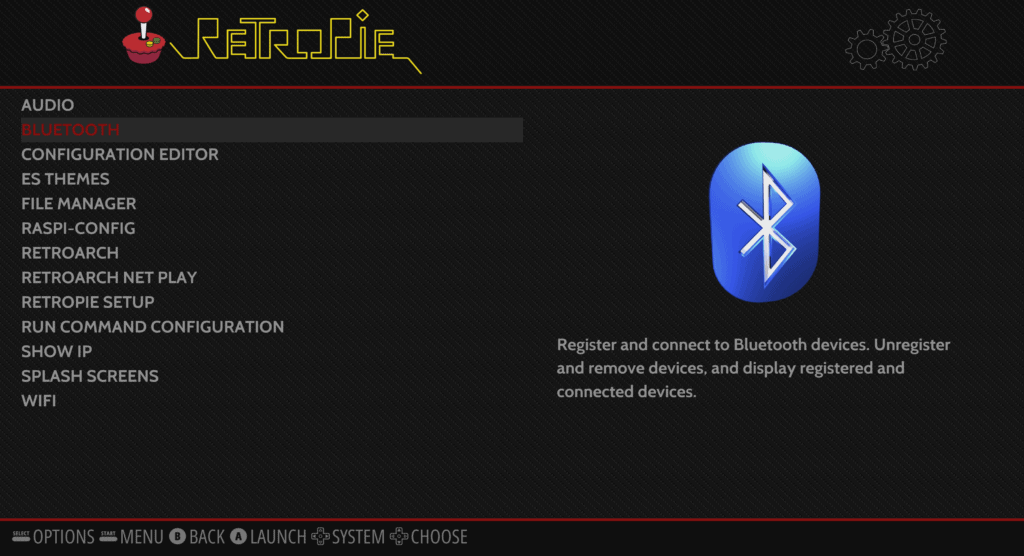
4a. After you return to the main menu, press a on the keyboard to select RetroPie Configuration.
4b. Scroll down to Bluetooth and press a on the keyboard.
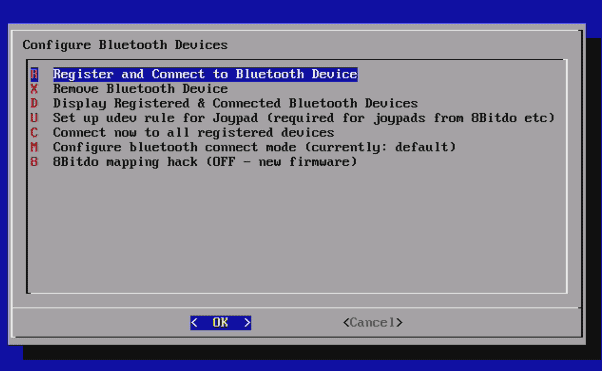
4c. Press Enter to select Register and Connect to Bluetooth device.
4d. Activate your controller’s pairing mode with the screen is searching for Bluetooth devices. This will vary by device.
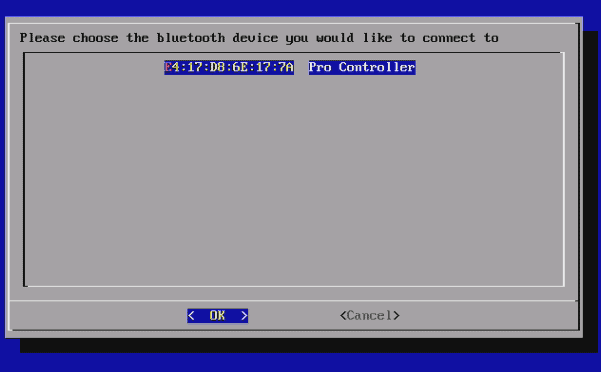
4e. Select your controller using the Enter key on the keyboard. I’m pairing an 8BitDo Pro 2 as shown below.
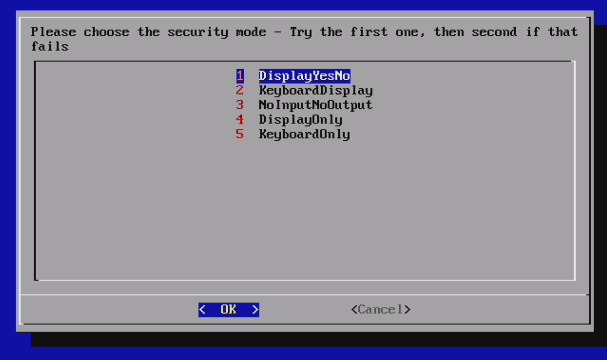
4f. Press Enter on the DisplayYesNo option.
4g. Cancel out of the menu options and go back to the main screen. You’ll need to scroll right from OK to Cancel. Then press ‘b‘ to go back to the main screen.
5. Configure your Bluetooth controller.
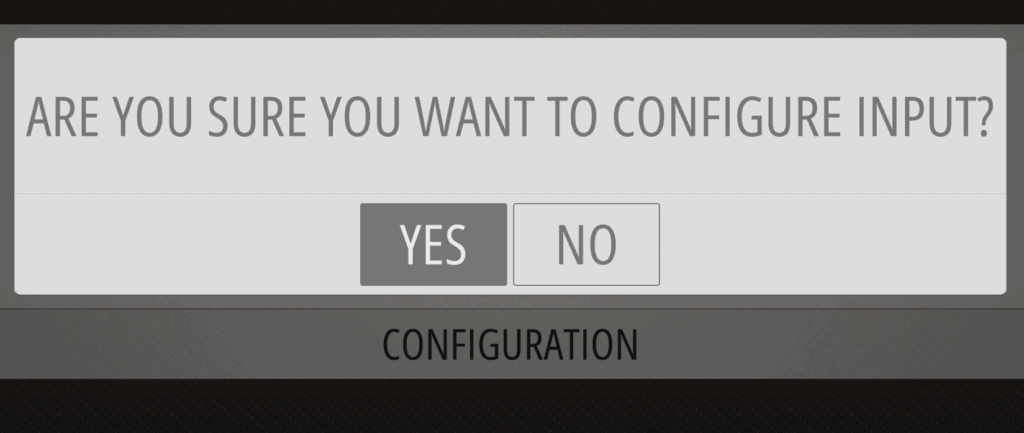
From the main menu, press Enter on the keyboard, then select Configure Input with the a button.

Press a again to confirm that you want to configure input.
This screen should look familiar with the notable addition that you have a controller detected. Ensure that your Bluetooth controller is both powered on and paired with the Raspberry Pi. Press and hold any button on the controller until the next screen comes up.
Now it’s just a matter of configuring your buttons. Ensure you do this correctly. As a side note, use the cardinal directions as a guide for your buttons. The A/B/X/Y buttons vary by console manufacturer. However, cardinal directions do not change. Use the directions as a guide.
Press the ‘A‘ button on the controller when you’re all done to select OK.
You’re almost there! But there’s one thing missing: games!
How do I add games to RetroPie?
Two simple ways to add games to RetroPie are by Wi-Fi or USB stick. I’ve already written a comprehensive guide here about how to add games to RetroPie. Be sure to check it out!
It’s super easy to drag and drop ROMs into your RetroPie system using Wi-Fi with SSH enabled. Check out my RetroPie Wi-Fi Setup Guide here to learn how to configure Wi-Fi on RetroPie.
You’re almost there. All you have to do is add games and enjoy your new RetroPie Setup. Enjoy!